Natural Glow Makeup: How to Achieve Dewy, Radiant Skin
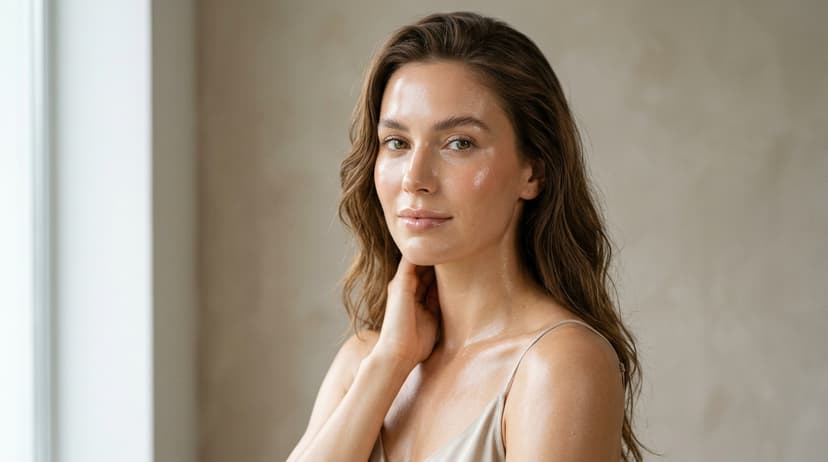
The 'no-makeup makeup' look is evolving into something even more radiant. Here is how to achieve the dewy, natural glow that is dominating beauty feeds right now.

📌 At a Glance (Key Takeaways)
- The 'lit-from-within' aesthetic prioritizes liquid illuminators, cream textures, and targeted powdering.
- Mixing liquid highlighter directly into moisturizers or foundation creates an ethereal all-over sheen.
- Selective placement on high points (cheekbones, brow bones, cupid's bow) mimics natural light reflection.
- Hydrating facial mists melt cosmetic powders together for a seamless skin-like finish.
Direct Answer: Natural glow makeup is a radiant cosmetic style designed to create the appearance of deeply hydrated, luminous skin that catches light naturally. It achieves this by combining hydrating skincare prep with sheer liquid illuminators, radiant cream blushes, and targeted pinpoint setting powder only where shine is unflattering, avoiding heavy glitters.
Skin-First Beauty
The natural glow trend is not about wearing no makeup. It is about wearing makeup that makes your skin look like it is naturally luminous, hydrated, and healthy. The products are there, they are just doing their job so well that they become invisible. The goal is radiance, not coverage.
This look has evolved significantly from the "glass skin" trend of a few years ago. Where glass skin aimed for an almost supernatural level of smoothness, the 2026 natural glow embraces real skin texture, including visible pores, freckles, and natural flush. The emphasis is on hydration and light reflection rather than perfection.
The Step-by-Step Routine
Step 1: Skincare as Makeup Prep
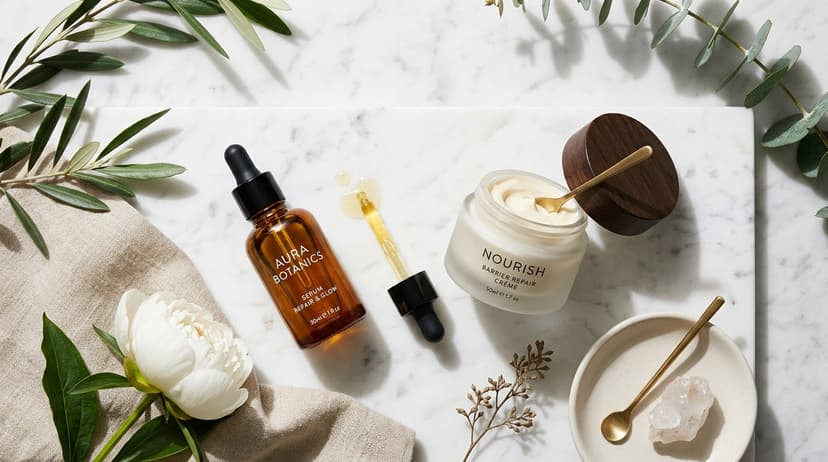
The glow starts before any makeup touches your face. Apply a hydrating serum (hyaluronic acid works well) to damp skin, followed by a moisturizer with a slight sheen. Let this absorb for two full minutes before moving to makeup. Rushing this step leads to pilling and uneven application.
Practical Tip: If your skin is oily, use a lightweight gel moisturizer instead of a cream. You still need hydration for the glow effect, but the gel formula will not make you look greasy by noon.
Step 2: Skin Tint, Not Foundation
Replace your full-coverage foundation with a sheer skin tint or tinted moisturizer. Apply it with your fingers rather than a brush or sponge. The warmth of your hands blends the product seamlessly and creates a more natural finish. Only apply where you need evening out, typically the center of the face, around the nose, and any areas of redness.
Step 3: Cream Blush
Cream blush is the single most important product in this look. Smile and apply a small amount to the apples of your cheeks, blending outward and slightly upward toward your temples. Choose a shade that mimics the color your cheeks naturally turn when you are flushed, warm pink for fair skin, peach for medium skin, or berry for deep skin.
Step 4: Liquid or Cream Highlighter
Apply a liquid highlighter to the high points of your face: the tops of your cheekbones, the bridge of your nose, your cupid's bow, and just above your brow bone. Use a tiny amount and blend with your fingertip. The key is a subtle, lit-from-within effect, not a visible metallic stripe.
- Avoid powder highlighters, they look too obvious for this trend
- Choose a highlighter shade close to your skin tone, not stark white or gold
- Blend, blend, blend until you cannot see where the product starts or stops
Product Comparison
| Product Type | Best For | Finish | Longevity |
|---|---|---|---|
| Skin tint | Minimal coverage, natural texture | Dewy | 4-6 hours |
| CC cream | Color correction plus light coverage | Satin | 6-8 hours |
| Tinted moisturizer | Hydration with a hint of color | Dewy to natural | 4-5 hours |
Step 5: Soft, Defined Brows
Brush your brows upward with a clear or tinted brow gel. Fill in any sparse areas with a brow pencil using light, hair-like strokes. The goal is groomed but not drawn-on. Avoid sharp, defined edges.
Step 6: Mascara and Lip Tint
One coat of brown or soft black mascara on the upper lashes only. Skip the lower lashes for a softer, more awake look. Finish with a sheer lip tint or tinted lip balm in a shade that matches your natural lip color.
This look is about enhancing what you already have rather than creating something new. When done well, people compliment your skin, not your makeup, and that is the highest praise this trend can receive.
The Evolution of Radiance: Why Natural Glow Transcends Trends
From the Korean "glass skin" phenomenon to Hailey Bieber's glazed donut aesthetic, dewy, radiant skin represents the ultimate hallmark of youth, health, and vitality. Unlike the blinding, metallic cheek stripes popular in 2016, modern natural glow makeup looks as though light is emanating from within your skin cells.
Achieving this luminous finish requires mastering the interplay of moisture, strategic reflection, and shine control.
The 4 Secrets to Authentic Skin Radiance
1. The Skincare "Underglow" Prep
Glow cannot sit on a dry, flaky canvas. Prep skin with an essence or hydrating toner, followed by a ceramide barrier cream. For red-carpet radiance, mix two drops of squalane or rosehip oil into your moisturizer before makeup application.
2. The Liquid Illuminator Cocktail
Rather than applying shimmering powder on top of dry foundation, mix a pea-sized drop of liquid illuminator (featuring micro-fine pearl pigments, never chunky glitter) directly into your skin tint or lightweight foundation.
3. Strategic Cream Color Placement
Apply cream bronzer along your temples and the hollows of your cheeks, and tap liquid blush high on the cheekbones. The emollient bases in cream formulas blend seamlessly with your skin's natural oils.
4. The Targeted Matte Zone (The Glow vs. Grease Rule)
The difference between looking "radiant" and looking "greasy" is all about placement:
- Glow Zone (Leave Dewy): High cheekbones, bridge of the nose, brow bones, cupid's bow, and center of eyelids.
- Matte Zone (Must Set): Center of forehead, smile lines, sides of the nose, and chin.
Radiance Product Formulation Comparison Matrix
| Product Type | Finish Effect | Best Skin Type | Application Method |
|---|---|---|---|
| Liquid Illuminator | Lit-from-within subtle sheen | All Skin Types | Mixed into foundation |
| Balm Highlighter | Wet, glassy editorial sheen | Normal to Dry | Tapped with fingertips |
| Cream Stick | Sculpted soft-focus glow | Combination | Blended with damp sponge |
| Baked Mineral Powder | Luminous diffused glow | Oily / Combination | Dusted with fan brush |
Step-by-Step Tutorial: The Glass Skin Morning Protocol
- Hydrate Deeply: Mist skin with rosewater or thermal water and press in a hyaluronic acid serum.
- Apply Glowing Primer: Smooth an illuminating primer containing niacinamide across your face.
- Apply Base with Damp Sponge: Use a damp sponge to bounce a sheer skin tint onto the center of your face, working outward.
- Cream Bronzer & Blush: Tap cream products onto high cheekbone planes with warm fingers.
- Targeted Powdering: Use a tiny blending brush dipped in translucent silica powder to powder only the nostrils and center forehead.
- Melt with Setting Mist: Finish with a generous spray of hydrating setting mist to dissolve any lingering powder residue.
Learn everyday applications in our No-Makeup Makeup Look and discover foundational skincare in Beginner Skincare Routine.
Dermatological Best Practices & Ingredient Synergy Protocol
Maximizing the biological efficacy of your skincare and beauty routine requires adhering to clinical formulation principles:
- Patch-Testing New Formulations: Before applying any new active product across your face, apply a dime-sized amount behind your ear or on your inner forearm for 48 hours to monitor for delayed contact dermatitis or erythema.
- The Importance of Formulation pH: Cleansers should always maintain an acidic pH between 4.5 and 5.5 to preserve the skin's protective acid mantle. Alkaline bar soaps (pH 8-10) strip protective lipids, opening pathways for acne-causing bacteria and trans-epidermal water loss.
- Storage & Oxidation Defense: Active serums containing vitamin C (L-ascorbic acid) or retinoids oxidize when exposed to light, heat, and oxygen. Store bottles in a cool, dark cabinet or skincare fridge, and ensure dropper caps are screwed tight immediately after use.
- Consistency Over Intensity: Low-percentage active ingredients used consistently 3 to 4 times weekly produce vastly superior long-term skin health with zero barrier disruption compared to aggressive high-concentration peels used erratically.
- Hydration Layering Order: Remember that water cannot penetrate oil. Always apply water-based essences and hydrating humectants first, and finish with emollient creams or facial oils to seal.
Frequently Asked Questions
Can I achieve a natural glow look if I have oily skin?
Yes! Use oil-free hydrating serums (like hyaluronic acid), a lightweight matte skin tint, and place cream highlighter exclusively on the high cheekbones, while keeping your T-zone securely powdered.
What is the difference between highlighter and illuminator?
An illuminator is a sheer, all-over fluid designed to be mixed with moisturizers or foundation for a diffuse glow. A highlighter is more concentrated and applied selectively to specific facial focal points.
Why does my highlighter emphasize texture and pores?
Powder highlighters with large mica or glitter particles settle into enlarged pores. Switch to a transparent balm or finely milled liquid illuminator that glides smoothly over skin texture.
How do you touch up dewy makeup during the day?
Use oil-blotting papers on the T-zone instead of repeatedly adding powder, then refresh your glow with a quick spritz of facial mist.