The Natural Glow Makeup Trend: How to Get the Look
Skin-First Beauty
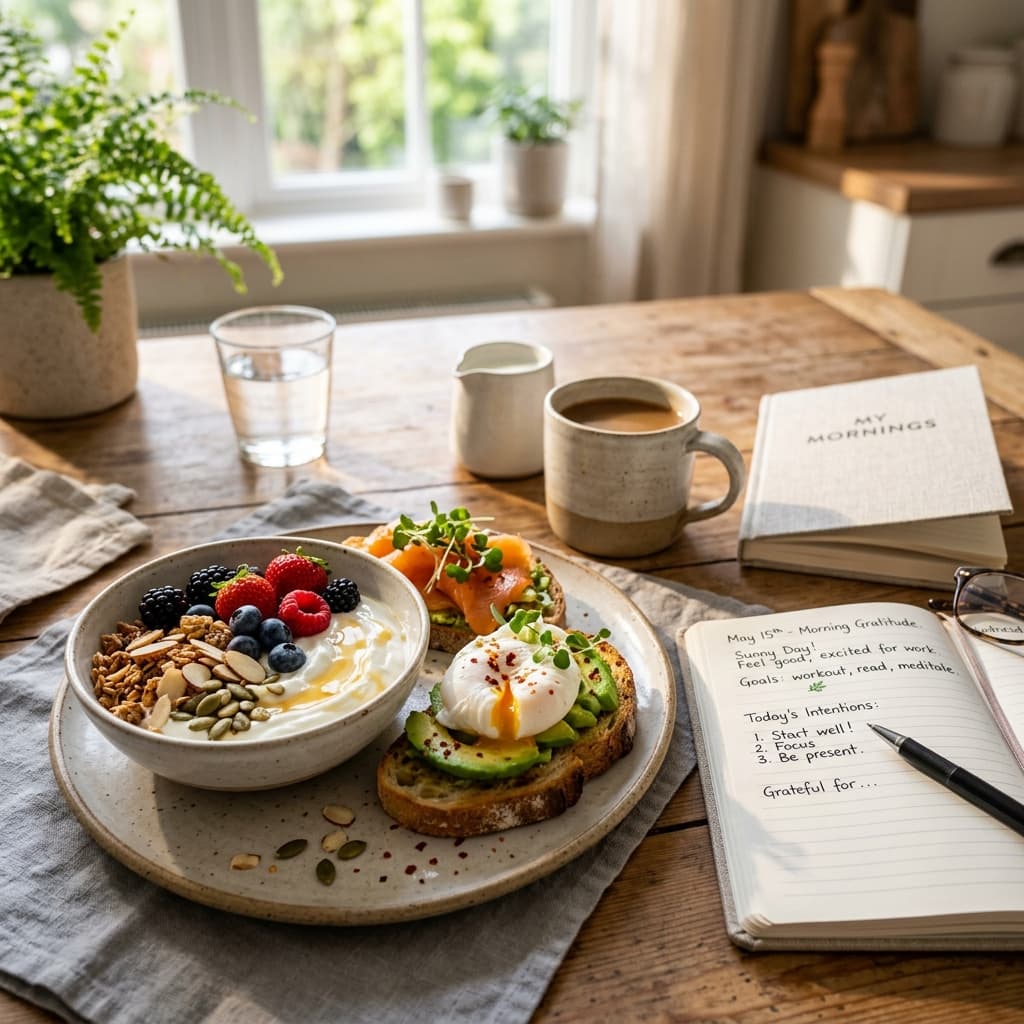
The natural glow trend is not about wearing no makeup. It is about wearing makeup that makes your skin look like it is naturally luminous, hydrated, and healthy. The products are there, they are just doing their job so well that they become invisible. The goal is radiance, not coverage.
This look has evolved significantly from the "glass skin" trend of a few years ago. Where glass skin aimed for an almost supernatural level of smoothness, the 2026 natural glow embraces real skin texture, including visible pores, freckles, and natural flush. The emphasis is on hydration and light reflection rather than perfection.
 Step-by-step natural glow makeup application showing skincare prep through final look
The Step-by-Step Routine
Step 1: Skincare as Makeup Prep
The glow starts before any makeup touches your face. Apply a hydrating serum (hyaluronic acid works well) to damp skin, followed by a moisturizer with a slight sheen. Let this absorb for two full minutes before moving to makeup. Rushing this step leads to pilling and uneven application.
Practical Tip: If your skin is oily, use a lightweight gel moisturizer instead of a cream. You still need hydration for the glow effect, but the gel formula will not make you look greasy by noon.
Step 2: Skin Tint, Not Foundation
Replace your full-coverage foundation with a sheer skin tint or tinted moisturizer. Apply it with your fingers rather than a brush or sponge. The warmth of your hands blends the product seamlessly and creates a more natural finish. Only apply where you need evening out, typically the center of the face, around the nose, and any areas of redness.
Step 3: Cream Blush
Cream blush is the single most important product in this look. Smile and apply a small amount to the apples of your cheeks, blending outward and slightly upward toward your temples. Choose a shade that mimics the color your cheeks naturally turn when you are flushed, warm pink for fair skin, peach for medium skin, or berry for deep skin.
Step 4: Liquid or Cream Highlighter
Apply a liquid highlighter to the high points of your face: the tops of your cheekbones, the bridge of your nose, your cupid's bow, and just above your brow bone. Use a tiny amount and blend with your fingertip. The key is a subtle, lit-from-within effect, not a visible metallic stripe.
- Avoid powder highlighters, they look too obvious for this trend
- Choose a highlighter shade close to your skin tone, not stark white or gold
- Blend, blend, blend until you cannot see where the product starts or stops
 Before and after comparison showing natural glow makeup transformation
Product Comparison
| Product Type | Best For | Finish | Longevity |
|---|---|---|---|
| Skin tint | Minimal coverage, natural texture | Dewy | 4-6 hours |
| CC cream | Color correction plus light coverage | Satin | 6-8 hours |
| Tinted moisturizer | Hydration with a hint of color | Dewy to natural | 4-5 hours |
Step 5: Soft, Defined Brows
Brush your brows upward with a clear or tinted brow gel. Fill in any sparse areas with a brow pencil using light, hair-like strokes. The goal is groomed but not drawn-on. Avoid sharp, defined edges.
Step 6: Mascara and Lip Tint
One coat of brown or soft black mascara on the upper lashes only. Skip the lower lashes for a softer, more awake look. Finish with a sheer lip tint or tinted lip balm in a shade that matches your natural lip color.
This look is about enhancing what you already have rather than creating something new. When done well, people compliment your skin, not your makeup, and that is the highest praise this trend can receive.


