How to Do a Gel Manicure at Home: A Complete Step-by-Step Guide

The Rise of DIY Gel Manicures
Getting a professional gel manicure at the salon is a wonderful treat, but the time and cost add up quickly. Over the past few years, home gel kits have advanced dramatically, allowing you to achieve that signature glossy, chip-free finish in your own living room. The key to a salon-quality DIY manicure isn't just buying the right lamp—it is all about the preparation and technique.
Step 1: Prep is Everything
Ask any nail tech, and they will tell you that prep is 90% of the work. If you skip these steps, your gel polish will lift within days:
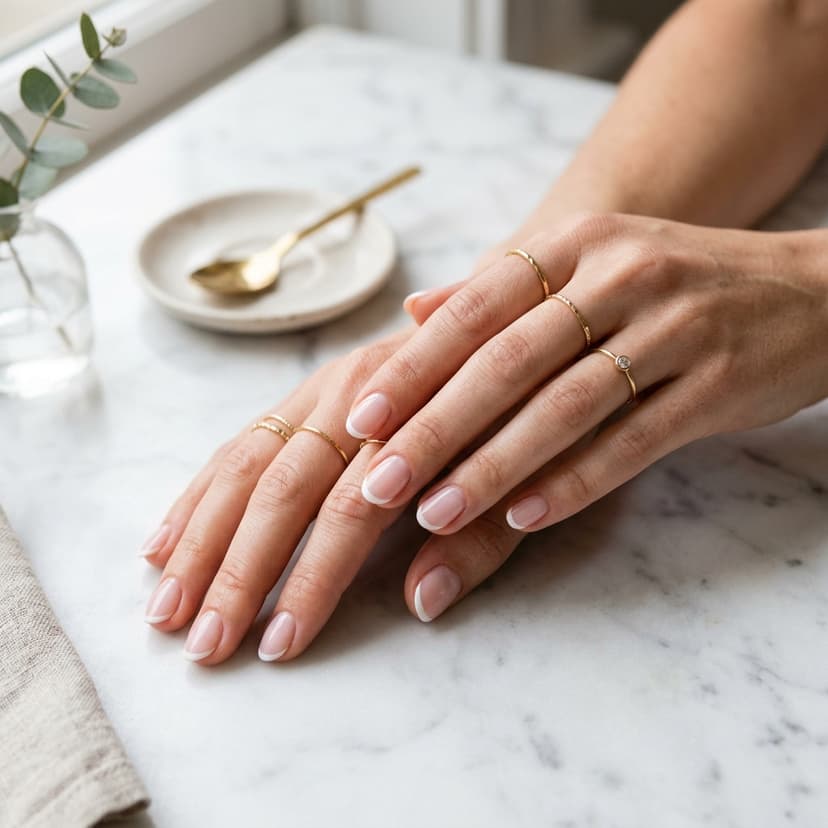
- Shape & File: File your nails into your preferred shape (oval, almond, or square). Always file in one direction rather than sawing back and forth.
- Push Cuticles: Apply cuticle remover and gently push back your cuticles. Cuticle growth on the nail plate prevents polish from adhering.
- Dehydrate the Nail: Cleanse each nail with rubbing alcohol or a nail dehydrator to remove all natural oils. Do not touch your nails after this step.
Step 2: Layering and Curing
The golden rule of gel manicures is to apply extremely thin coats. If your layers are too thick, the UV light cannot cure the polish all the way through, leading to bubbling and peeling.
 Detailed close-up of thin base coat application on natural nail plate
- Base Coat: Apply a super thin layer of base coat, sealing the free edge (the tip of your nail). Cure under the lamp for 30–60 seconds.
- Color Coat: Apply your first color layer. Again, cap the free edge. Don't worry if it looks slightly streaky; the second coat will cover it. Cure under the lamp.
- Second Color Coat: Apply a second thin layer of color and cure.
- Top Coat: Apply a glossy or matte top coat, seal the tip, and cure for a final 60 seconds.
- Wipe the Sticky Layer: If using a traditional top coat, wipe the sticky residue with an alcohol pad to reveal the high-gloss shine.
| Lamp Type | Curing Time | Best Used For | Lifespan |
|---|---|---|---|
| LED Lamp | 30–60 seconds | Formulated LED polishes, fast and safe | 50,000 hours (bulbs don't need replacing) |
| UV Lamp | 2 minutes | All gel polishes, slower, wider light spectrum | Bulbs need replacing every few months |
Post-Manicure Aftercare
Gel polish is tough, but you must treat your nails with care. Apply cuticle oil daily to keep your nail beds hydrated. When washing dishes, always wear gloves—prolonged exposure to warm water is the primary cause of premature lifting. When it's time to remove your polish, never peel it off; always soak it in pure acetone to prevent damage.