
📌 At a Glance (Key Takeaways)
- Proper nail plate dehydration and cuticle prep account for 90% of gel manicure longevity.
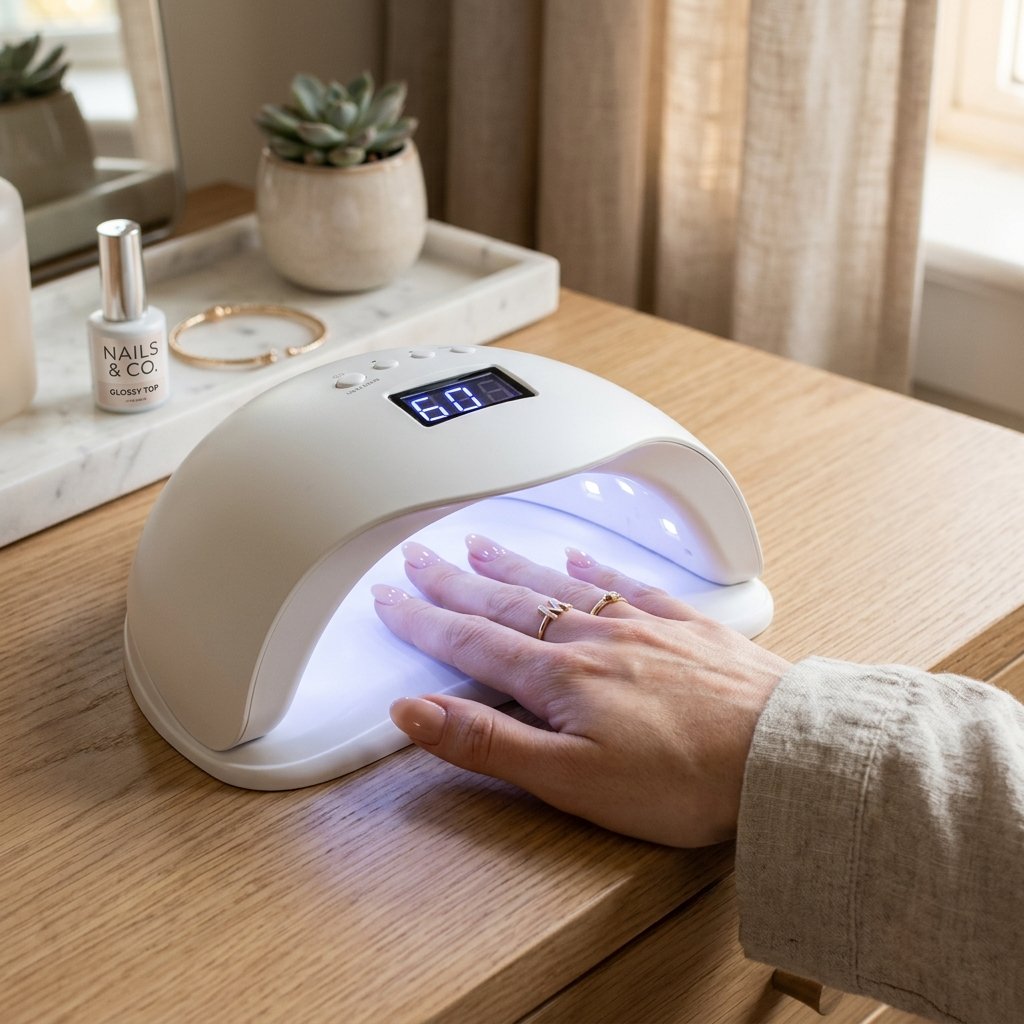
- Requires a 36W or 48W LED/UV lamp with proper 60-second curing cycles for full polymerization.
- Capping the free edge on every coat prevents premature chipping and tip peeling.
- Safe removal via pure acetone soak-off prevents keratin damage and thinning nail beds.
Prep your nails dry, keep every coat thin, and cap the free edge each time. Do those three things and an at-home gel manicure will last three weeks. Skip any one of them and it’ll lift by the weekend, no matter how expensive your polish is. That’s the part most tutorials bury: longevity is about mechanical preparation and thin layers, not the brand in your cart.
A salon gel manicure is a treat, but the cost and the hours in the chair add up. Once you own a lamp and understand what the nail plate needs, you can get a glossy, chip-free finish at home that genuinely holds up. Here’s the whole process, plus the reasoning behind each step so you can troubleshoot your own results.
Why gel behaves differently from regular polish
Ordinary nail lacquer dries by evaporation, leaving a brittle film that chips within days. Gel is a different animal. It’s made of liquid acrylate oligomers and photo-initiators, and it doesn’t dry at all: it cures. When you put it under UV (365nm) or LED (405nm) light, the photo-initiators trigger a cross-linking reaction that binds the liquid into a dense, flexible plastic bonded to your nail. Fully cured, that shell shrugs off hot water and detergents. The catch is that curing has to be complete, which is why thin coats and the right lamp matter so much.
What to have ready
Lay everything out on a clean, lint-free towel before you start. Touching random objects mid-manicure transfers oil back onto nails you just dehydrated, and that’s a classic cause of lifting. You’ll want:
- A dual-wavelength LED/UV lamp, ideally 36–48W. Underpowered mini-lamps can’t fully cure darker colors, which leads to wrinkling and, over time, allergic sensitization.
- A nail dehydrator and an acid-free primer.
- Gel base coat and a no-wipe top coat made for light curing (never air-dry base coats under gel).
- Your pigmented gel colors.
- 90%+ isopropyl alcohol and lint-free wipes. Cotton balls shed fibers that ruin a smooth coat.
- A steel cuticle pusher, a 180-grit file, and a fine 220/240-grit buffer.
- Jojoba cuticle oil for afterward.
- Pure acetone and foil wraps for removal down the line.
The application
Prep dry. Don’t soak your hands first. Water swells the nail plate, and as that moisture escapes under the cured gel over the next two days, the nail shrinks and the gel lifts at the sides. Instead, push back the cuticle with a steel pusher, gently scrape away the thin dead skin stuck to the plate, and shape the free edge with a 180-grit file, working in one direction to avoid splitting the edge.
De-shine. Take the fine buffer and lightly graze each nail in the direction of growth. You’re not thinning the nail, just knocking off the reflective oil sheen so the primer can grip. A few light passes is plenty.
Dehydrate and prime. Scrub each plate with a wipe soaked in 90%+ alcohol, paying attention to the sidewalls and cuticle line. Once dry, brush on one thin swipe of acid-free primer and let it air-dry about 30 seconds until it looks matte or slightly tacky.
Base coat, and cap the edge. Apply a paper-thin base coat, keeping the brush about a millimeter off the cuticle so you don’t flood the skin. Then run the brush along the very edge of the nail tip. This “capping” is the step people skip and then wonder why they chip: it seals the free edge so water can’t creep between the nail and the polish. Cure 30 seconds under LED (60 under UV).
Two thin color coats. Use a three-stroke method: one stroke down the center, then one along each side. The first coat should look almost translucent. Resist the urge to make it opaque in one thick layer, because light can’t penetrate dense pigment, and the polish underneath stays wet and wrinkles. Cap the edge, cure 60 seconds, then repeat with a second thin coat. If any gel touches skin, wipe it off with an alcohol-dipped brush before curing.
Top coat and oil. Brush on a smooth layer of no-wipe top coat over everything, cap the edge one more time, and cure a full 60 seconds. If you’re using a wipe-off top coat instead, remove the tacky layer with a fresh alcohol-soaked wipe. Finish by massaging a drop of jojoba oil into each cuticle.
Curing times shift with your lamp, so use this as a rough guide:
| Lamp | Base | Color | Top |
|---|---|---|---|
| Compact home LED (24W) | 45s | 60s | 60s |
| Pro LED/UV (48–54W) | 30s | 60s | 60s |
| Fluorescent UV (36W) | 60s | 120s | 120s |
Removal without wrecking your nails
Bad removal ruins more nails than anything else. Never pick or peel cured gel off, because it takes the top layers of your natural nail with it. Instead:
- Buff off the shiny top coat with a coarse 180-grit file until the surface looks chalky. Acetone can’t get through an intact top layer.
- Soak half a cotton ball in pure acetone (not diluted remover) and press it onto the nail.
- Wrap each fingertip snugly in foil to trap body heat, which speeds things along.
- Wait 12 to 15 minutes without peeking.
- Twist off the foil; the gel should look puffy and crumbly. Push it away gently with an orangewood stick, and re-wrap any stubborn spots for a few more minutes rather than scraping.
Making it last
A few habits stretch the wear time. Skip long baths and dishwashing for the first couple of hours while the polymers stabilize. Oil your cuticles twice a day, since flexible nails bend under pressure instead of cracking. Wear gloves for cleaning, because household sprays and dish soap slowly degrade the top coat. And stop using your nails as tools to pop lids or scrape labels; that stress concentrates right at the weakest point.
For keeping the natural nail underneath healthy between manicures, see “How to Strengthen Natural Nails”, and for a design to try next, our “Modern French Tip Nails” guide walks through the technique.
Frequently Asked Questions
Why does my gel polish peel off in one whole sheet after two days?
This is almost always caused by improper prep: either natural oils were left on the nail plate, hands were soaked in water before application, or gel polish was flooded onto the cuticle skin, breaking the airtight seal.
Does curing gel polish under UV/LED lamps damage the skin?
LED nail lamps emit very low levels of UVA light for brief 60-second intervals. However, wearing fingerless UV protection gloves or applying broad-spectrum mineral sunscreen to hands 20 minutes prior completely eliminates skin risks.
How long can you safely leave a gel manicure on?
A gel manicure should be safely soaked off after 2 to 3 weeks. Leaving gel on for 4+ weeks creates leverage stress on the nail bed as your natural nail grows out, increasing the risk of painful breaks.
Can I use regular nail polish with a gel top coat?
Only if the regular polish is 100% dry (which takes 12 to 24 hours of air drying). If moisture or solvents remain trapped under the cured gel top coat, the polish will wrinkle and peel immediately.
Additional Details
- Description: Skip the salon prices and master the art of the perfect, long-lasting DIY gel manicure at home with our detailed guide.
- Published: 2026-06-15T00:00:00.000Z
- Updated: 2026-09-07T00:00:00.000Z
Images
- (none listed)